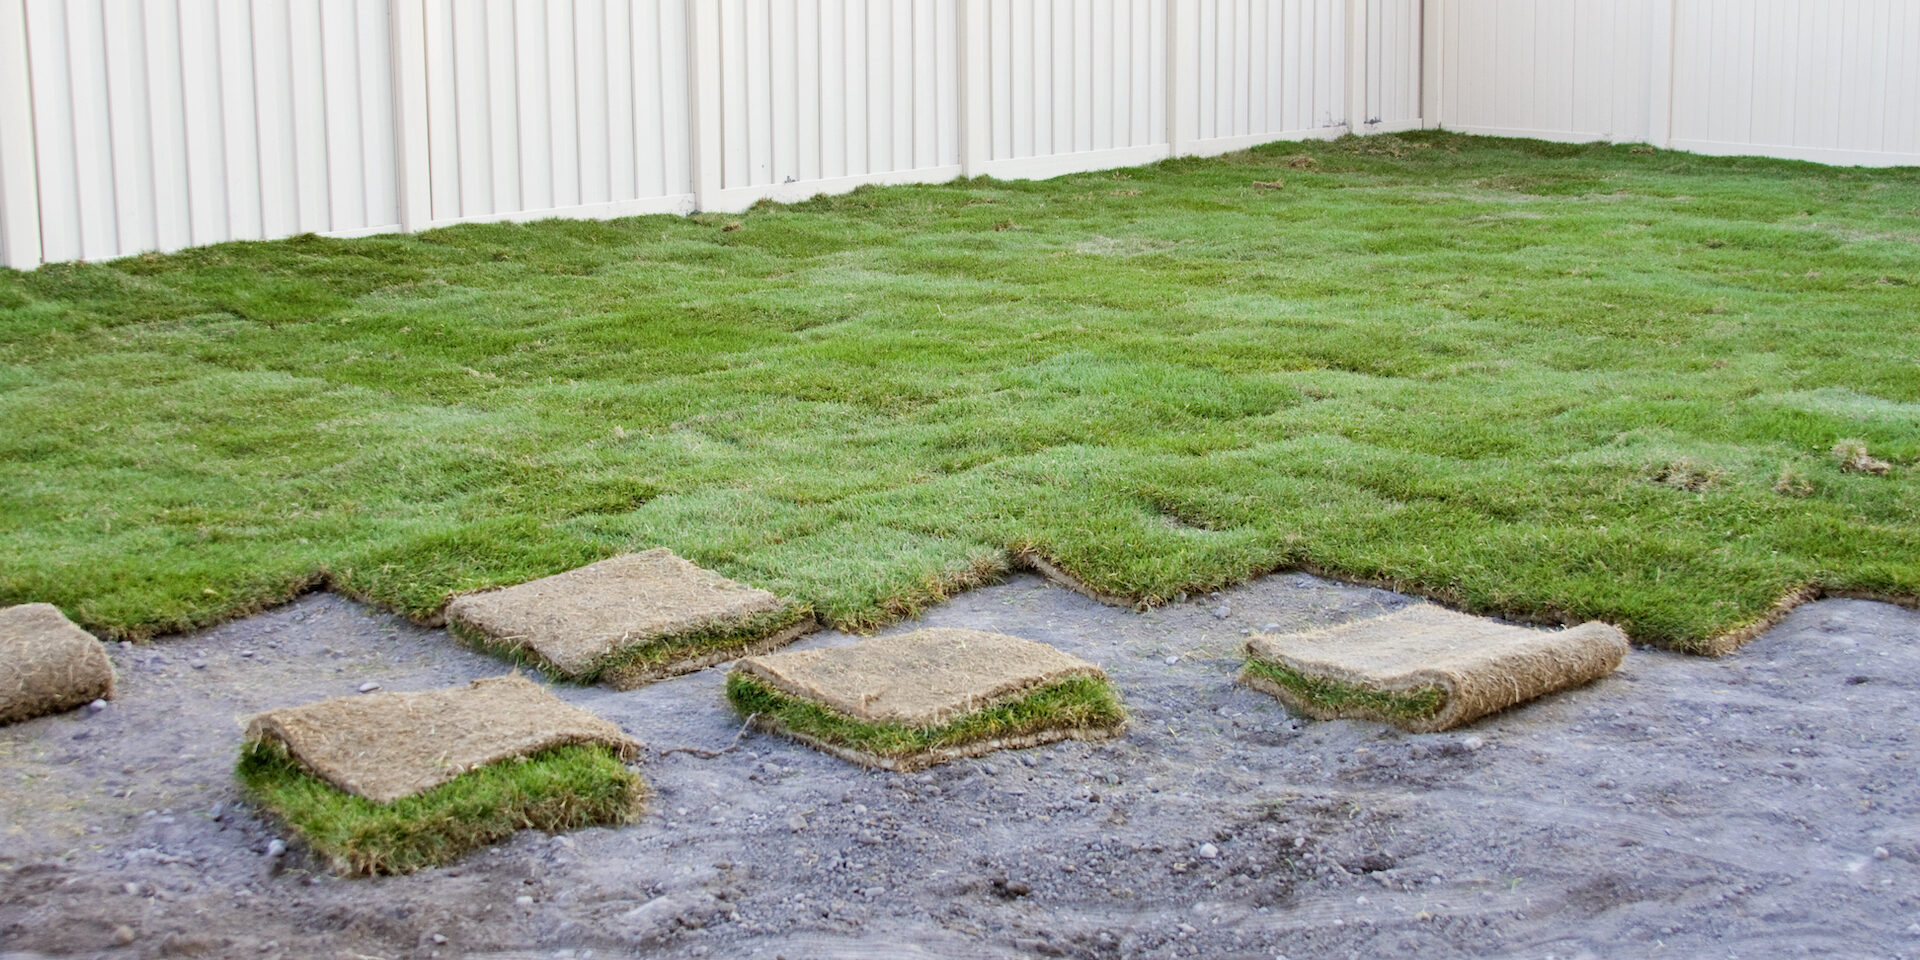
How To Install Sod
You’ve planned out the perfect lawn, you’ve picked out the perfect sod to use, and now comes the actual work: install sod. So, what is the best way to go about installing your new sod? What tools do you need? Is there a special process?
If you’re looking to make this a home DIY project, then you’ve come to the right article! We’re going to take you through the process of preparing your ground and how to install sod for the best results.
Lay the Groundwork
It is crucial to make sure the ground is prepped and ready for the sod to be put in place. This prep work will need to start a few weeks out, keeping an eye on the weather for a clear day to do the actual installation.
Measure & Purchase
Start by getting an accurate measure of the square footage that you plan on covering with your new sod. Once you know that, you can place the order for your sod. It can be purchased in either strips or slabs, though if it’s a large area to cover we recommend full pallets . Always order a more than you plan on using, just in case.
Prep the Soil
Now, new sod can’t be placed over existing growth. What you’ll need to start with is removing any old grass, along with about an inch of the underlying soil. You should then follow that up with using a garden rake or something similar to loosen up and level out the fresh soil, breaking up large bits and making sure it’s nice and even.
You’ll then want to make sure the soil is healthy by testing it for soil pH and mineral levels using a testing kit. Make any needed adjustments with fresh soil or fertilizer.
Now you’re ready for a healthy dose of water and then it’s time to install sod.
You Will Want To Remove Any Existing Grass
Unstack and Line It Up
This is where the magic happens! It’s time to install sod. You’ll want to make sure the sod is fresh on installation day and that you’re keeping it in a cool, shady spot until needed.
Find a Straight Edge
For the first stretch of sod, you want to find the spot on your lawn with the longest and straightest edge to line up with. This will help keep your rows as even as possible while you install sod. Before moving to the next row, make sure that the first section is even and smooth, then give it a nice drink of water. You’ll do that for each section.
As you lay out your sod, there are a few things to make sure you do. You want to ensure that the entire backing of the sod is in contact with the soil underneath. You also want to make sure that you are NOT stepping on the sod as you lay it out. Walk backward from where you’re unrolling, keeping yourself in the soil. As you keep moving, cut sections as needed to fit.
Make sure that you have all of the pieces snuggled up to each other and try to stagger the seams, like with brickwork. This will keep them from being as noticeable, as well as help to prevent the edges from drying each other out. Once it’s all laid out, be sure to fill in any gaps and trim the edges.
Next Steps
As the sod settles in, you’ll need to keep it watered. Daily for the first week, every other day for week 2, and then twice a week for the next 2 weeks once it starts to take root. Remember to keep off the sod as it’s rooting itself and add a little fertilizer for an extra boost of nutrition. After the grass reaches 3 inches in height, you can mow it for the first time! Enjoy your beautiful new sod lawn.

